Master the Skills
[/vc_column][/vc_row][vc_row padding_top=”0px” padding_bottom=”0px” border=”none” style=”margin: auto; max-width: 950px;”][vc_column width=”1/2″]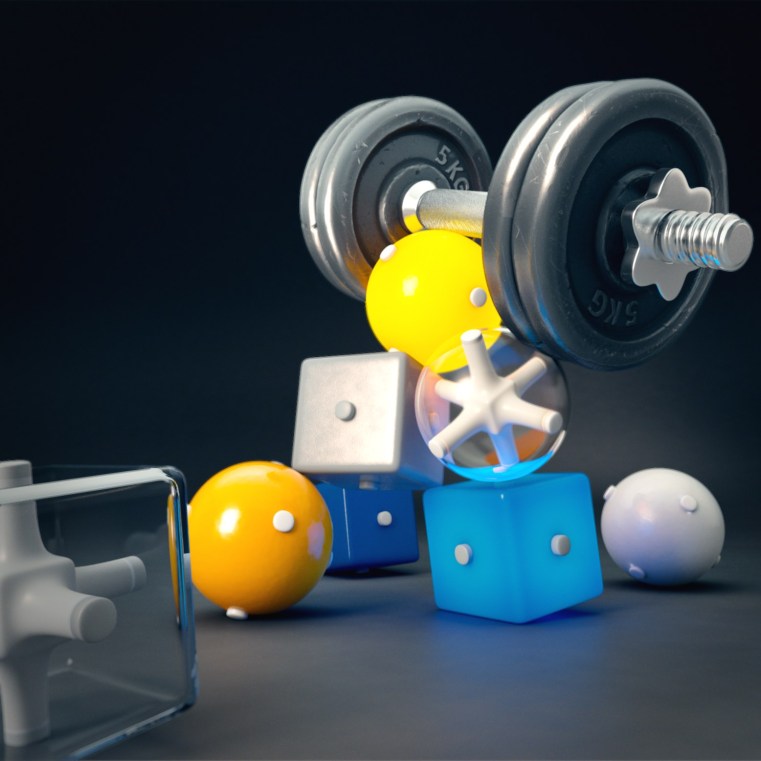 [/vc_column][vc_column width=”1/2″]
Creating content for PixelSquid isn’t terribly difficult, but it does require a reasonable amount of learning. Since PixelSquid offers such a unique product, there are techniques and concepts that you must familiarize yourself with before attempting to dive in.
For this reason, we’ve put together a collection of resources to help you along the way. Follow the links below to learn what you need to know to get started.
Learning Path Links
3D Photography Guide
Linear Workflow
Scene Organization & Management
The PixelSquid Spec
PixelSquid FAQ
Create Your First Product
[/vc_column][/vc_row][vc_row padding_top=”0px” padding_bottom=”0px” border=”none” style=”margin: auto; max-width: 950px;”][vc_column width=”1/2″]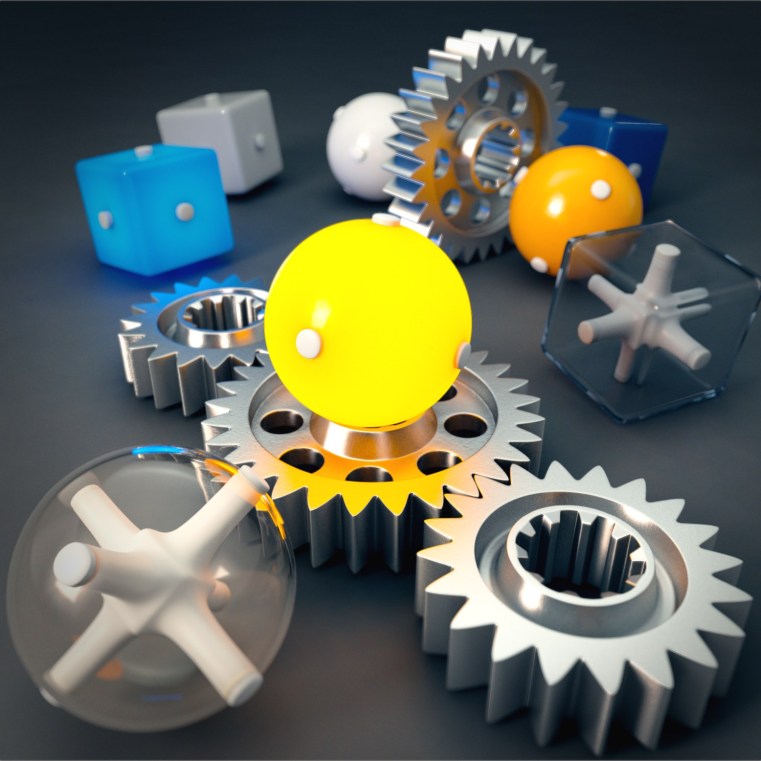
Use Library Objects
The easiest and quickest way to get started creating content for PixelSquid is to work with our Object Library. Each object within the library has been made following the PixelSquid Spec and is guaranteed to work perfectly in the PixelSquid Studio.
Use as many objects as you like to create compelling scenes that beg to be photographed. Your imagination is the only limit. Follow the links below to learn more.
Object Library Links
Library Objects
Using the Object Library
Christmas StyleGuide
Use Your Models
You can also use your own models for PixelSquid; either on their own or mixed with our Object Library models. If you are using your own models, there are a few more rules, techniques and concepts that you must learn.
This training gets a little more complex since it is required that your models are both created in 3ds Max/V-Ray and absolutely photo-real. To help you along the way, we have created photo-real training and an extensive V-Ray Material Library. Follow the links below to learn more.
Custom Model Links
Library Materials
Refurbishing Your Existing Models
Understanding Render Element
Creating your own VRay Materials
Shoot
[/vc_column][/vc_row][vc_row padding_top=”0px” padding_bottom=”0px” border=”none” style=”margin: auto; max-width: 950px;”][vc_column width=”1/2″]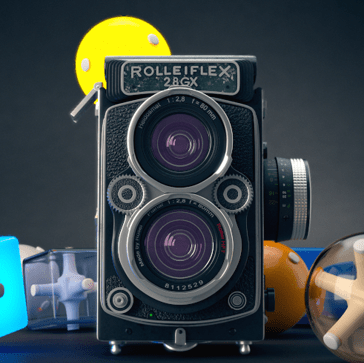 [/vc_column][vc_column width=”1/2″]
A stock 2D site needs to be filled with stunning shots. Once you’ve created a PixelSquid scene, it’s time for you to start creating some of those shots. We have built lots of training to help you achieve the best results, as well as a custom tool that makes it easy to get compelling shots out of your 3ds Max scenes.
Follow the links below to get the latest TurboSquid Tools and learn about shooting images that render beautifully.
Photo Shoot Links
Install Tools
PixelSquid Studio Manual
Rendering Quick-Tips
Visual QA Feedback Tags – Definitions
Inspect
[/vc_column][/vc_row][vc_row padding_top=”0px” padding_bottom=”0px” border=”none” style=”margin: auto; max-width: 950px;”][vc_column width=”1/2″]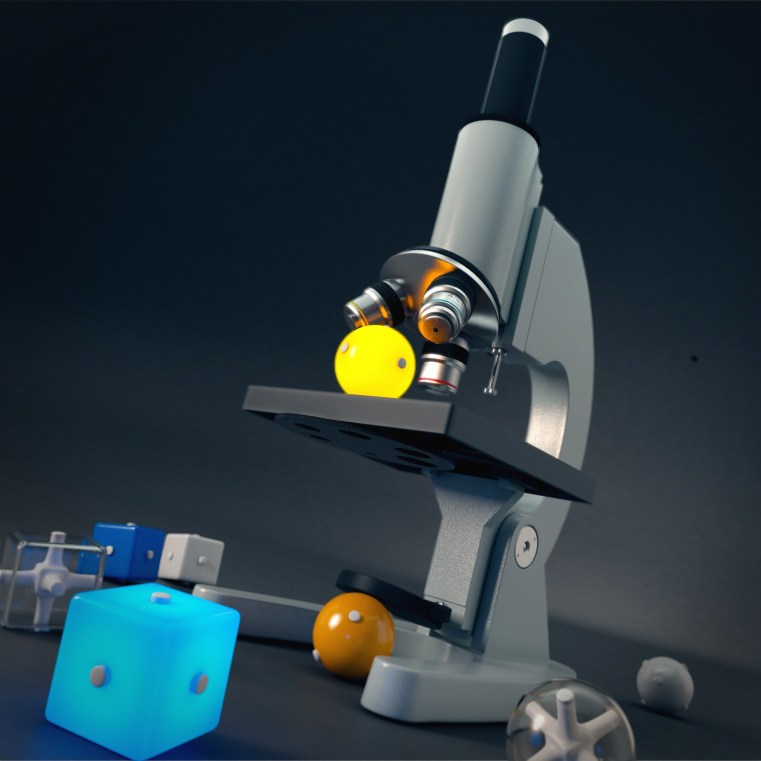 [/vc_column][vc_column width=”1/2″]
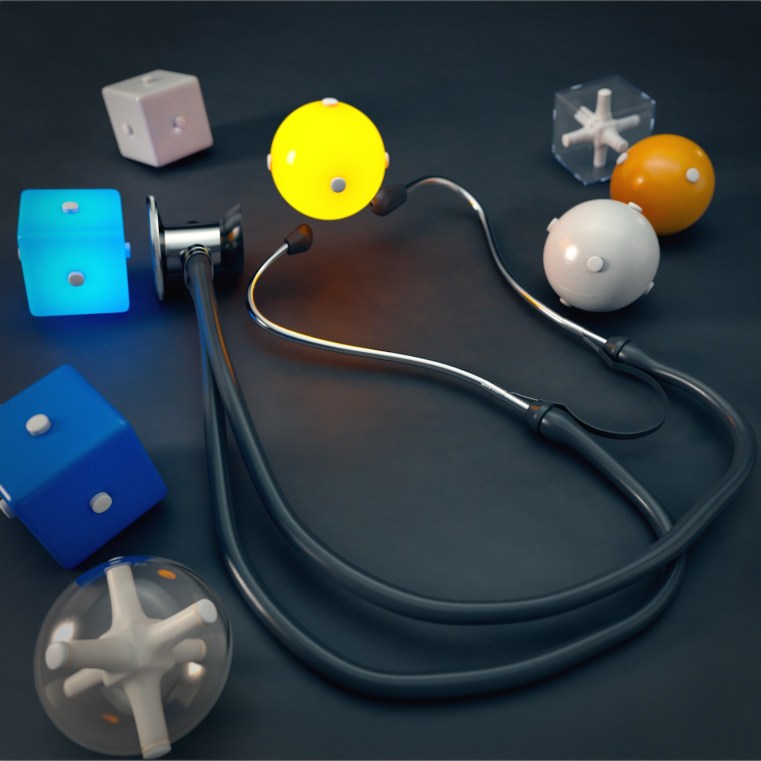
You don’t have to wait until you’re completely done with your scenes to check your work. You can check your scenes at any time during the creation process to make sure you’re on the right path.
Follow the link below to get started with our versatile and informative Inspection Script.
Inspection Script Links
Install Tools
Inspector Manual
Submit
[/vc_column][/vc_row][vc_row padding_top=”0px” padding_bottom=”0px” border=”none” style=”margin: auto; max-width: 950px;”][vc_column width=”1/2″]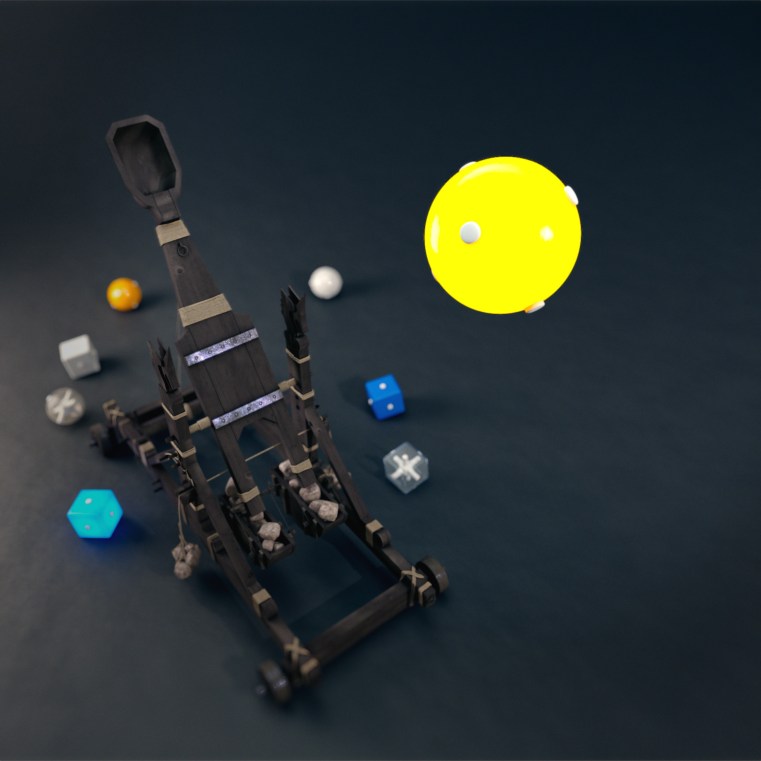 [/vc_column][vc_column width=”1/2″]
After you’ve created some Shots, it’s time to submit your work through our approval and publishing system. Since PixelSquid is all about beautiful imagery, there are a few extra steps of visual QA that need to be done by our Inspectors here at Turbosquid before your work can go live on PixelSquid.
Publishing is easy when you follow the steps and familiarize yourself with the approval process, so follow the links below to get started.
Publishing Links
PixelSquid Shot Submission Process
PixelSquid Spinner Submission Process
[/vc_column][/vc_row]